
Lens Studio Segmentation Guide


Lens Studio segmentation textures can isolate specific elements that your camera sees and render them out as a new texture to be used elsewhere in your Lens.
To get and set a specific piece of what the camera sees, follow these steps.
Step 1: Add Screen Image & Duplicate Camera
Open a New Project in Lens Studio.
In the Objects panel, click + to add a new Screen Image. Set the image component stretch mode to Stretch in the Inspector.
Next, right click and duplicate the camera. Turn it off for now.
Step 2: Add Resources
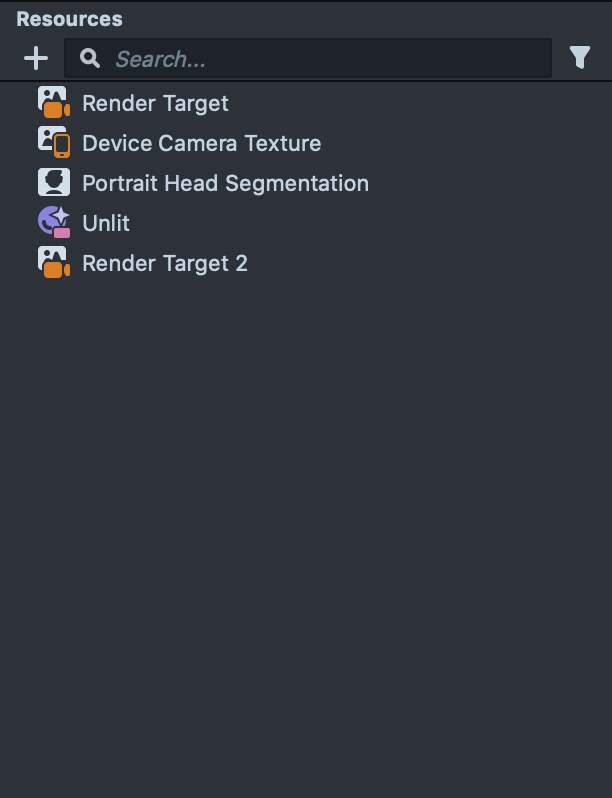
Navigate to the Resource panel and add 3 new resources. Right click -> Add New or click + and start typing to search.
1: Segmentation Texture ( 10 options )
2: An Unlit material
3: A new Render Target
Step 3: Set Material Specifications
Select the Unlit material and view its components in the Inspector pane.
• In the Color Mask component, switch on the Alpha Channel.
• Switch the Blend Mode to Normal.
• Toggle the Opacity Texture
• Set the Opacity Texture by dragging on the Segmentation Texture from the Resources pane.
• Select the Screen Image in the Objects pane and assign the Unlit material to the Screen Image‘s Material.

You will now see a white, alpha channel mask updating over the area defined by the segmentation texture.
Back in the Resources pane, drag the Device Camera Texture to the Screen Image component’s Texture, replacing the white texture with what the camera sees.

Step 4: Setting up the Render Target
Now it’s time to render that alpha information out to a new texture that we can manipulate however we please.
Open the Render Target 2 located in the Resources Pane.
Navigate to the Inspector to modify the Render Target 2‘s properties.
• Set Clear Color to Color.
• Open the Color Box and drag Opacity to 0%.
• In the Objects pane, select the Orthographic Camera and navigate to the Inspector.
• Set the Render Target to Render Target 2 by dragging it in from the Resources pane.
Step 5: Setting up the Segmentation Layer
• Select the Orthographic Camera in the Objects Panel.
• In the Inspector’s Camera component, click the Layers box, then + Add New Layer.
• In the same window, click to activate the new, yellow Layer 1 and deactivate the green Orthographic Layer by clicking it off. Then click out to close the Layers window.
• Back in the Objects pane, select the Orthographic Camera’s Screen Image 0, and in the upper right of the Inspector pane, you can see that the Screen Image‘s layer is still set to Orthographic. Switch it to the newly created Layer 1.

Step 6: Reactivate Duplicate Camera/Assign Segmentation to Screen Image Texture.
Now you can reactivate your Orthographic Camera 2.
• Reactivate the Orthographic Camera 2 that you created in Step 1.
• Click the disclosure box next to Orthographic Camera 2 to open the Full Frame Region 0 and locate the Screen Image 0.
• From the Resources pane, drag the Render Target 2 to the Screen Image 0‘s Texture.
Now you can use the Screen Image to display just the area of segmentation. Try using the Tween Manager and making lots of duplicates for neat effects. The Segmentation Texture can also be used as a texture in Particle systems.

taught by Christopher Strawley